
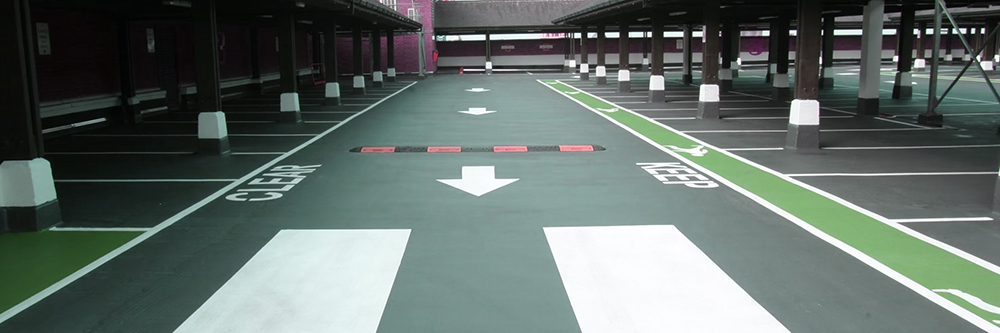
Epoxy flooring is renowned for its durability, aesthetic appeal, and resistance to chemicals and wear. However, even the toughest epoxy floors can develop cracks over time due to structural shifts, heavy impacts, or improper installation. Addressing these cracks promptly is crucial to maintain the floor’s functionality and appearance. This guide provides a step-by-step approach to repairing cracks in epoxy flooring, ensuring a seamless and long-lasting result.
Step 1: Assess the Damage
Begin by thoroughly inspecting the cracked area. Identify the width and depth of the crack, as well as any underlying issues such as moisture or moving subfloor. Hairline cracks may require less intensive repair, while wider cracks might indicate more serious structural problems that need addressing before surface repair.
Step 2: Clean the Area
Proper cleaning is essential for a successful repair. Use a stiff brush and vacuum to remove dust, debris, and any loose particles from the crack. For grease or oil stains, apply a degreaser and rinse thoroughly. Allow the area to dry completely; moisture can compromise the adhesion of the epoxy patch.
Step 3: Widen and Prepare the Crack
For better adhesion, use a grinder or diamond blade to slightly widen the crack, creating a V-shaped groove. This increases the surface area for the epoxy filler to bond. After widening, clean the groove again to ensure no debris remains.
Step 4: Apply the Epoxy Filler
Mix a high-quality epoxy filler or patching compound according to the manufacturer’s instructions. Using a putty knife, press the mixture firmly into the crack, ensuring it fills the entire groove. Smooth the surface to level it with the surrounding floor. For deeper cracks, apply the filler in layers, allowing each layer to cure partially before adding the next.
Step 5: Cure and Sand
Allow the epoxy filler to cure completely as per the product’s recommended time. Once cured, sand the patched area smoothly to blend it with the rest of the floor. Start with coarse-grit sandpaper and gradually move to finer grits for a polished finish.
Step 6: Recoat with Epoxy (If Necessary)
For a uniform appearance, consider applying a fresh topcoat of epoxy over the entire floor. This not only enhances aesthetics but also adds an extra layer of protection. Ensure the patched area is fully cured and clean before applying the topcoat.
Why Professional Repair Matters
While DIY repairs are possible, complex cracks often require professional assessment and tools. Professionals can identify underlying issues, use industrial-grade materials, and ensure a flawless finish, extending the life of your epoxy floor.
Regular maintenance and prompt repairs are key to preserving the integrity of epoxy flooring. By following these steps, you can effectively address cracks and prevent further damage, keeping your floor looking pristine for years to come.
For more expert tips on epoxy flooring maintenance and repair, explore our website and discover how our solutions can transform your space!
Post time: Aug-27-2025